Gear Guides
Tips for using Colour Filters & Polarisers on sights

Sep
While fine-tuning your iris diaphragm helps to “sharpen” the target image, choosing the right colour filter will significantly improve contrast. The colour and coating on a filter will block certain spectral ranges – beams of specific wavelengths – as light passes through them.
Depending on the properties of the filter lens, a colour filter will make the target image appear e.g. yellow, green or red (on a subjective basis).
This has a number of consequences:
- Colour filters remove certain colours from the image and enhance others. Depending on the colour of the light, this changes contours and often improves contrast.
- The resultant colouring usually has a subjective, emotional effect on the observer. Green is said to be calming, while red is associated with a stimulating effect.
- In objective terms, there is evidence that filters improve a shooter’s perception of the target under certain conditions.
For example, you might find that you can see better under certain cloud conditions or in the evening light, because certain spectral ranges are being naturally filtered out. Artificial filters can intensify the target image and improve contrast in the same way. Indeed, coloured lenses are designed to reproduce this effect on a systematic basis. There are also grey inserts and polarisers that can be used to reduce the amount of light, if necessary, and eliminate reflections.
If the result is unsatisfactory (too bright or poor contrast), that is when the filters come into play. If the target is too bright, you should start by testing the grey, blue and brown filters. If the sun is shining directly on the target, it is always a good idea to try out the brown filter.
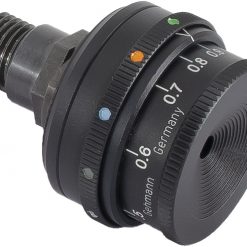
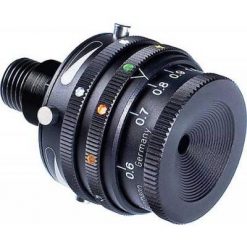
In extremely bright conditions, you can combine it with grey levels or the polarisation filter. When trying to deal with such extreme situations, it can be helpful if your adjustable iris has two coloured filter wheels. One behind the other, so that two filters can be switched in series. Ideally a fixed iris should also have a polariser filter.
In cloudy, rainy, foggy or misty conditions, you can use contrast-enhancing filters: yellow, peach, orange, green, blue & UV. Everybody’s eyes are unique, which is why everyone responds differently to varying intensities of light. It simply isn’t possible to formulate standard rules that apply across the board. Using filters requires concentration and experience in trying out different approaches.
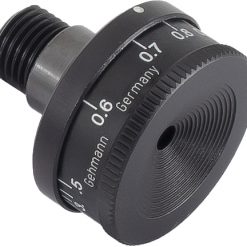
How to adjust the iris aperture before selecting a colour filter
When making adjustments, you should start off by looking at the target without any filters.
- Adjust your iris aperture to its maximum size
- While aiming at the target, slowly close the iris aperture until the front sight appears in perfectly sharp focus. Take a reading from the scale for the iris diaphragm
- Adjust your iris aperture to its minimum size
- While aiming at the target, slowly open the iris aperture until the front sight again appears in perfectly sharp focus. Take a reading from the scale for the iris diaphragm
- Now adjust your iris aperture to the average of those two readings
When to adjust your sights
The ideal time to adjust your sights is before you start taking sighting shots. Sit down at your firing point, get yourself comfortable and place your rifle on a kneeling roll or rest. Then adjust your iris diaphragm, filter and the proportions of your front sight until you like what you see.
When taking your sighting shots, you should only need to make minor adjustments. After inserting or changing a colour filter, you must check your iris aperture and the diameter of your front sight. As a rule of thumb, you should find that you will need to enlarge your iris aperture and front sight when using a darker filter.
Filters in the front sight tunnel
The vast majority of competitions are held using electronic scoring targets. These targets are extremely bright and often lit up from the inside, which means they produce very strong contrast that our eyes have great difficulty processing.
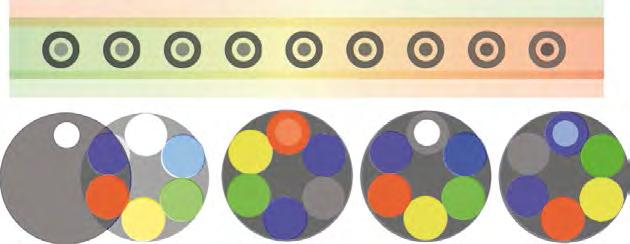
The mistake that shooters make most often in this regard is to try and reduce extreme brightness using dark grey filters near the iris diaphragm. This darkens the iris aperture, making it difficult to centre the front sight tunnel accurately. Every tenth counts, so single and double polarisers for the front sight have been developed to tackle precisely this problem.
These filters darken the view through the front sight tunnel in order to counter the extreme brightness of the target while leaving the gap between the front sight tunnel and iris aperture bright, which is ideal for accurate centring.
In addition to polariser filters for dimming light, contrast-boosting filters for the front sight tunnel have been developed, which also have a centre hole. In tricky light conditions, “secret weapons” like these can make all the difference.
Credit: Re-published from Gehmann Catalogue